I will do another write-up on the software portion of this. Right now I want to focus on the product design aspect of it. See, I care about what I build. I want to make sure it works as well for me as I can make it. So I do a lot of iterations.
My 3D Cad skills are constantly improving. I'm new to the whole game, but I have found Autodesk 123D to be the only free tool worth my time. I had looked at Sketch-Up, but the problem is that it's a mesh modeler. This is fine if you don't care about actually making the things you design. But I want to actually build these things, and so a B-REP cad package is a must. This is because B-REP operations (extrusion, revolving, filleting, chamfering, etc) correspond really nicely to the way we actually make physical objects. Also, the models are fundamentally always manifold (i.e. they always have a finite interior volume due to the nature of the math that underlies B-REP modeling). This is important when you go to 3D print your model. With 123D, I found that files almost always export cleanly to .STL for printing. And even when the STL output has errors, I've still had no issues slicing the resulting files, and no print failures resulting from glitches in the CAD software.


Who gets excited about printing things out on a page any more? I sure don't. But printing out an object that literally existed only in my imagination a few minutes ago? That's the world we live in now.


Ugh. No. Just no.

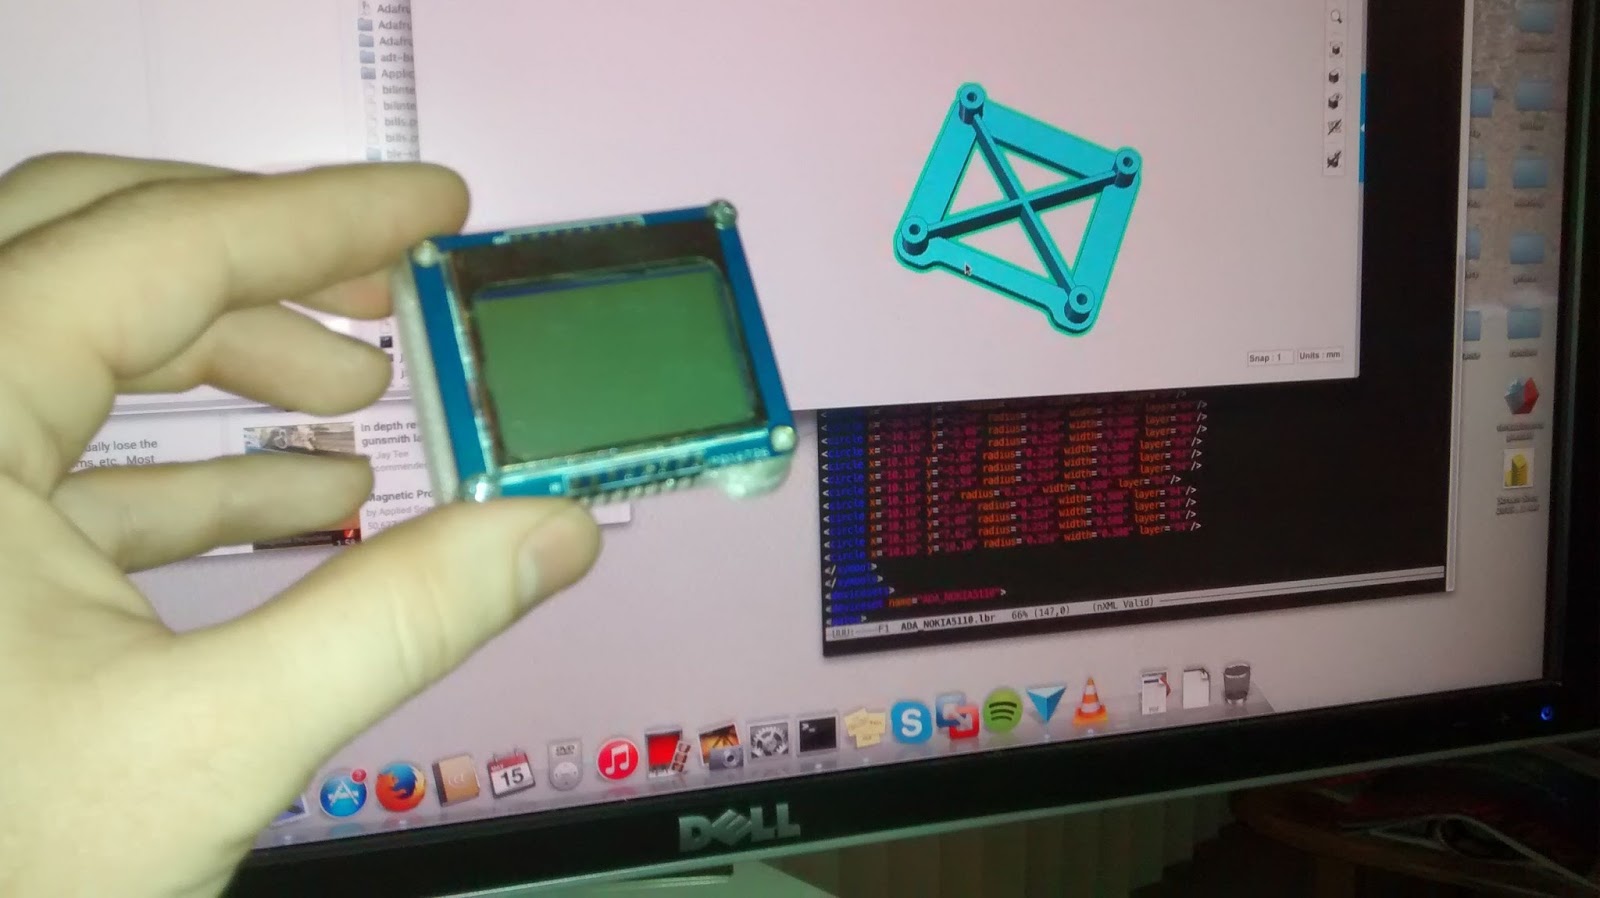
I
went back to a simpler wedge shape, but by filleting the edges and
making a screen cut-out, I caqme up with something that actually seemed
worth building. It kinda reminds me of a scaled-up Tamagutchi, or the
first cycle computer I had back in the '90s.
Here's my second piece of advice: Use translucency when modeling so you can see interior features.
It's especially important when you are trying to align features like screw posts. Translucency allows you to really see the internal geometry of your part. Issues like thin walls and clearance issues are all but impossible to spot otherwise.

I kept the 22.7 degree angle, beacuse I thought it might make mounting on handle-bars easier. I also thought that I might need a lot of room inside, because through-hole electronics are bulky. I've been burned by this before. But also, I just thought it looked kindof cool this way.

I literally couldn't wait to print out this version, and to my surprise, by printing it facing up, I got really good results. I was happy with the overal shape and visual look of it. The cut-out in
the shell framed the screen, and the contours of the exterior lead the
eye in such a way that it looks smaller than it really is. I definitely
avoided the tiny-screen-swallowed-by-large-enclosure look that so many DIY projects suffer from. So what if the styling is a little dated? It looks like something you might have found at Fry's in like 2001, which is a huge leap forward from something you might bought at RadioShack in 1989.
I tell myself that when this is all over, I will order a high-quality 3D print of it from 3D hubs so this design won't be marred by the ugly 3D-printer staircase effect.

However, my elation was short-lived. With my gloves on, it was clear that the button holes, while visually pleasing, were awkwardly placed and much too small. That's what's so weird about 3D modeling. What you see on the screen is often not what you expect when you see it in physical form. Usually things just seem to be a lot smaller than you'd imagined.
This is why it's so useful to have your own printer. Oops. I don't like it. Oh well, let's try something different.

The other issue that came up is that the encoder knob looked a little odd sticking out at an angle. A little strange. And then, to make matters worse, the knob felt way too skinny with my gloved fingers. It felt too fiddly to adjust it.

The answer is "kindof." It photographs well, but the in-person effect is very "DIY" looking. Even using the soapy water trick, it's really hard to get a smooth texture. Your fingers dent the material wherever you touch it. So you get one part smooth, but then have to go over the part you were just holding it by. I liked the color though. It definitely added something to the design.


No comments:
Post a Comment